|
Because i have never flown a paraglider before and because it was home made prototype i took it out to the Algadones Sand Dunes to ensure a soft landing. Despite the strong crosswind, the paraglider performed well and felt very stable. The controls (brake lines) also worked perfectly keeping me in line with the wind and on the landing. Although it can not be seen the flight starts about 2 seconds into the video.
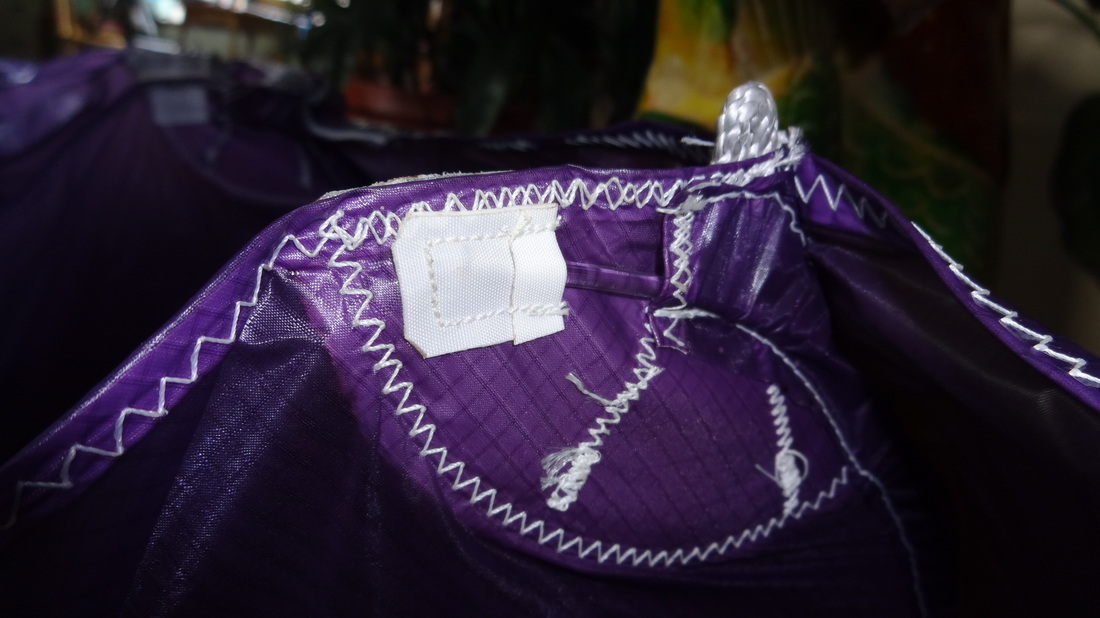
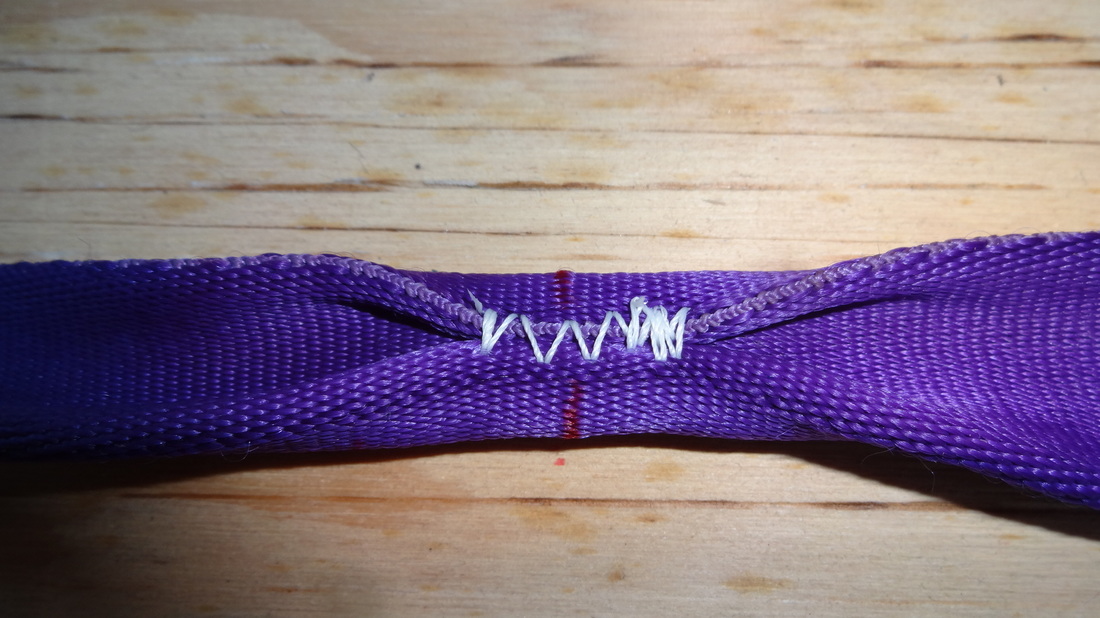
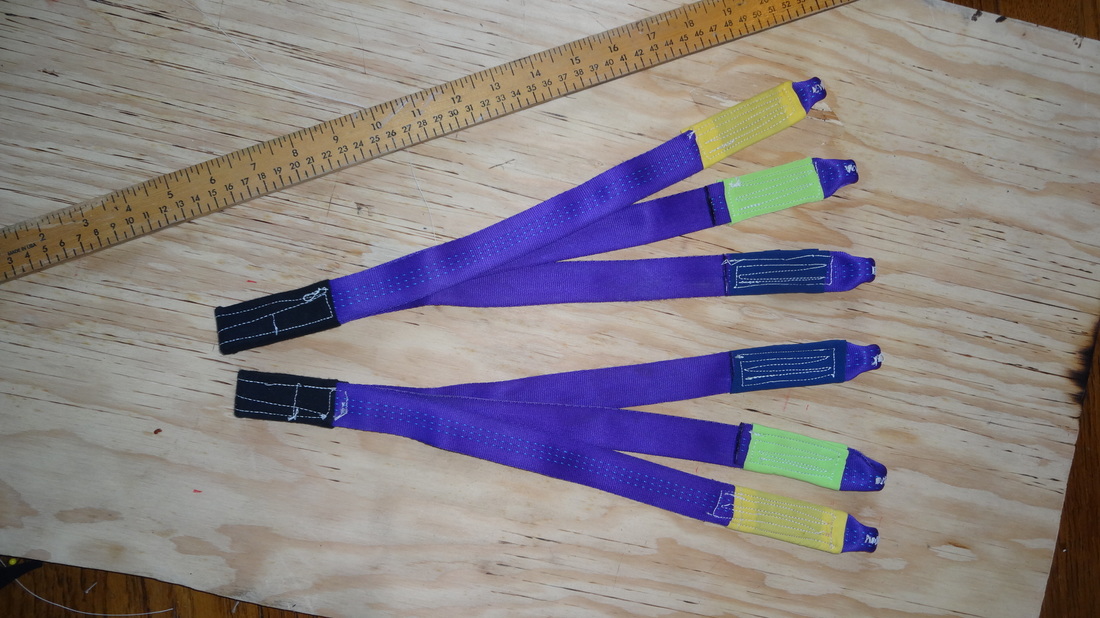
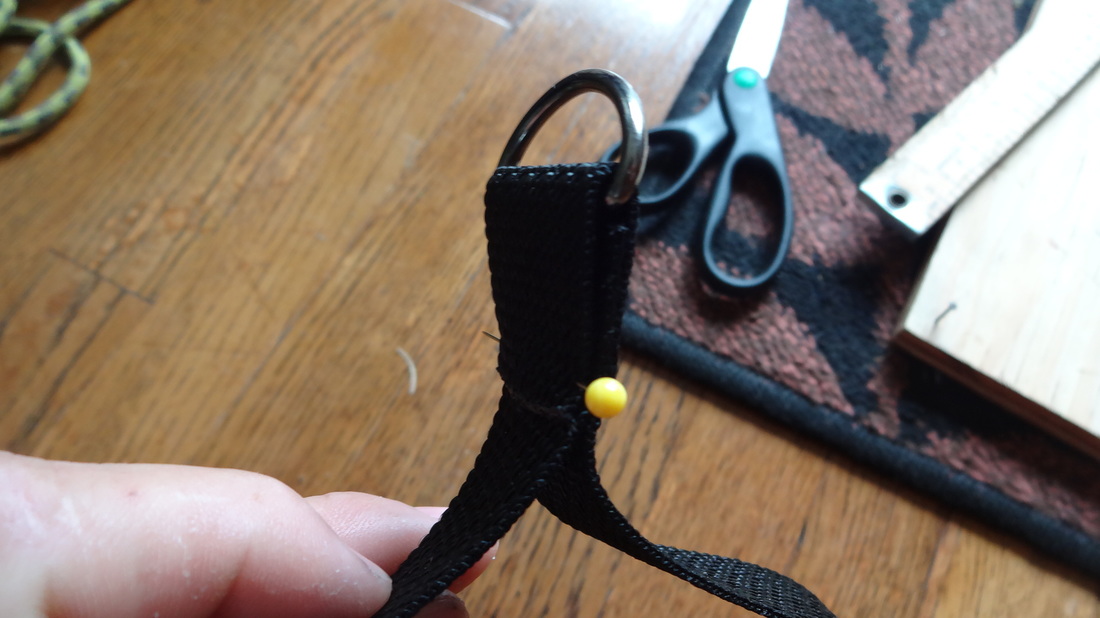
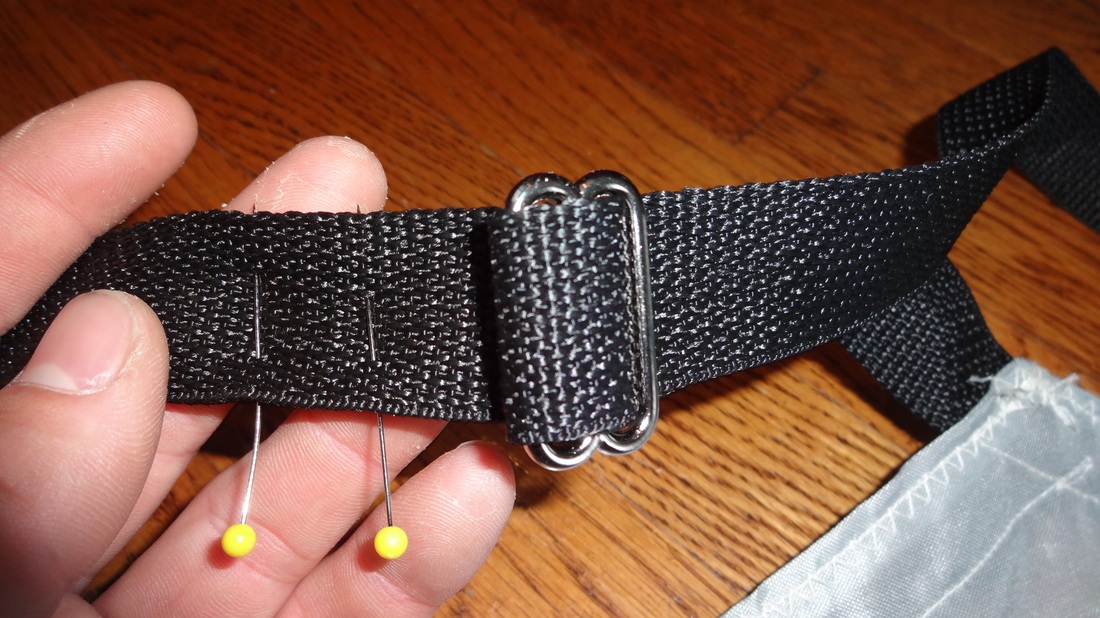
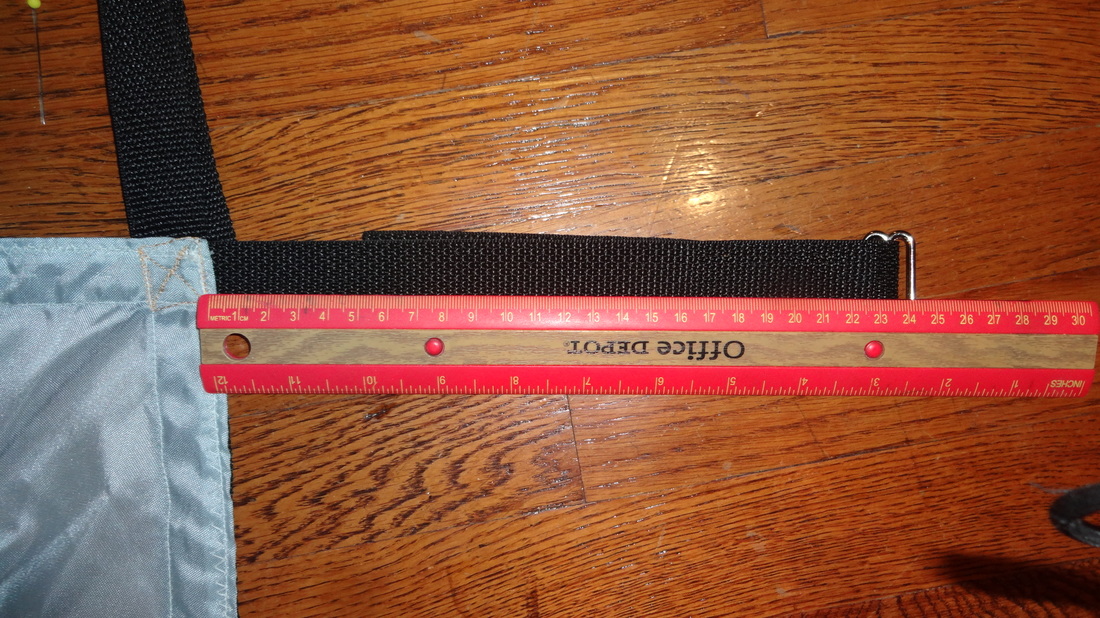
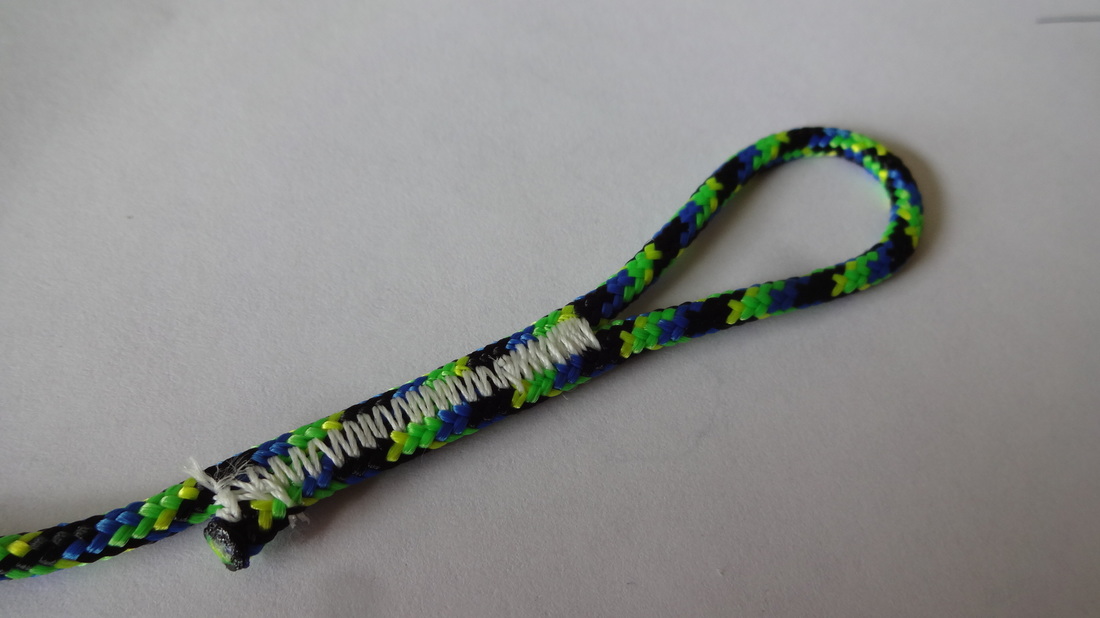
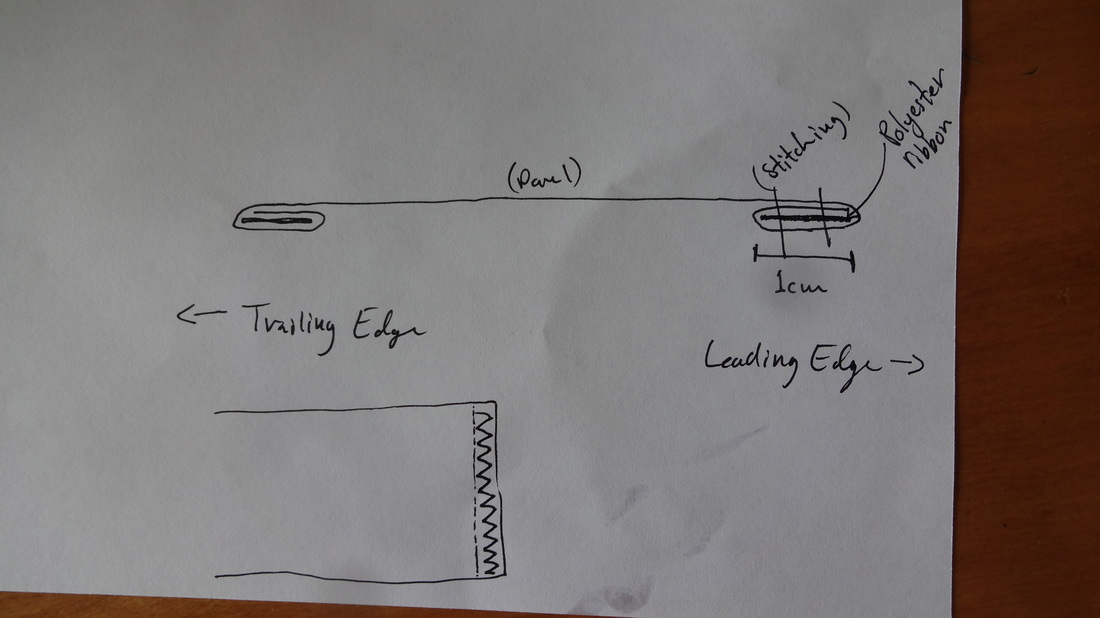
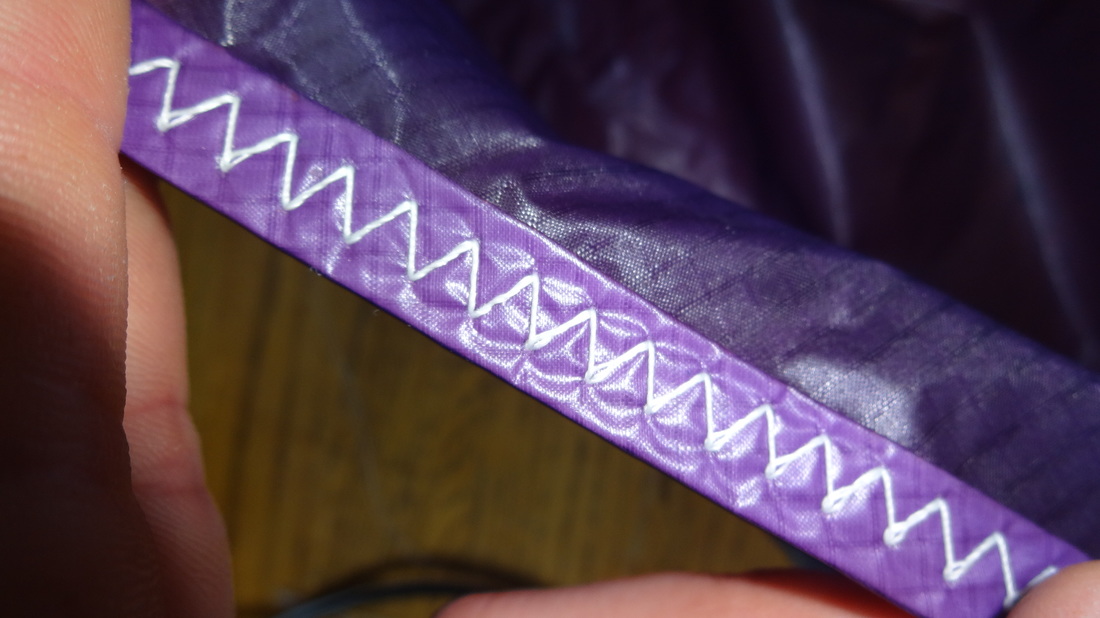
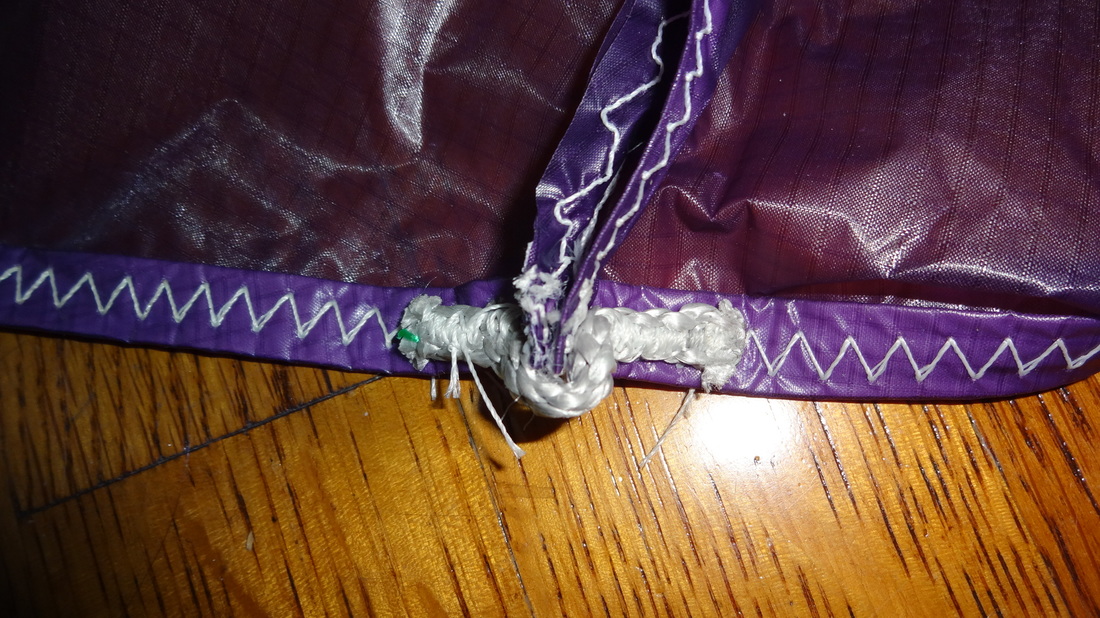
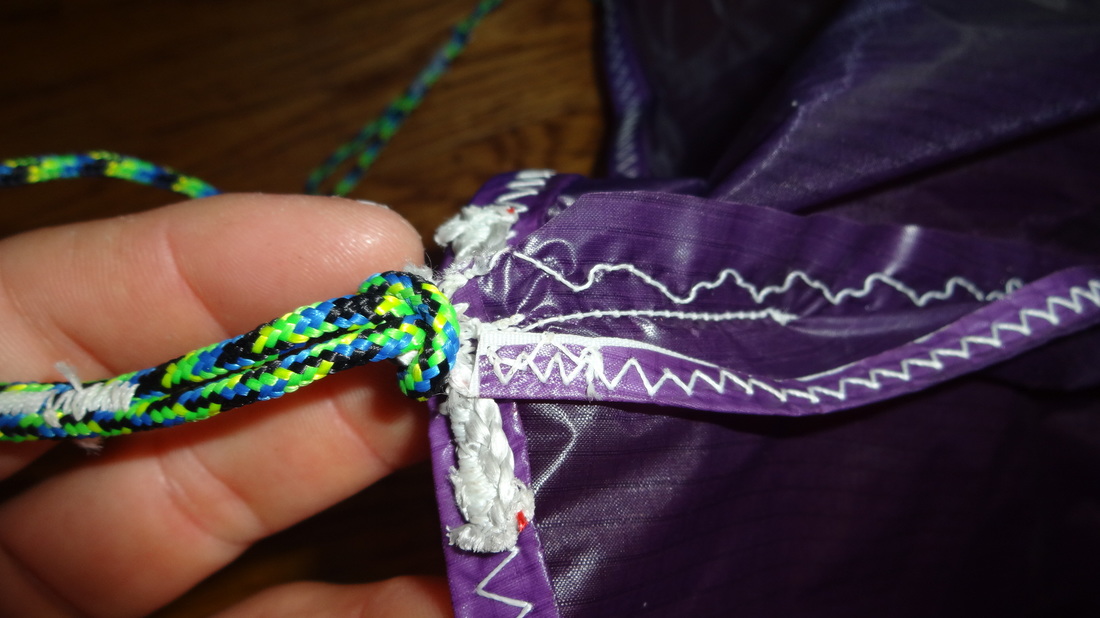
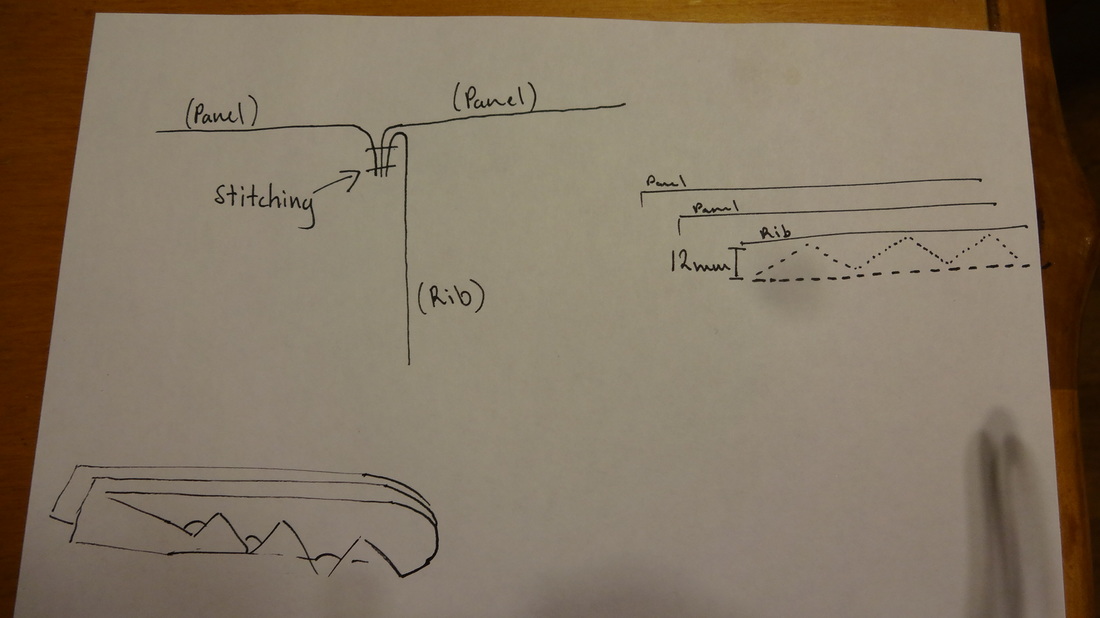
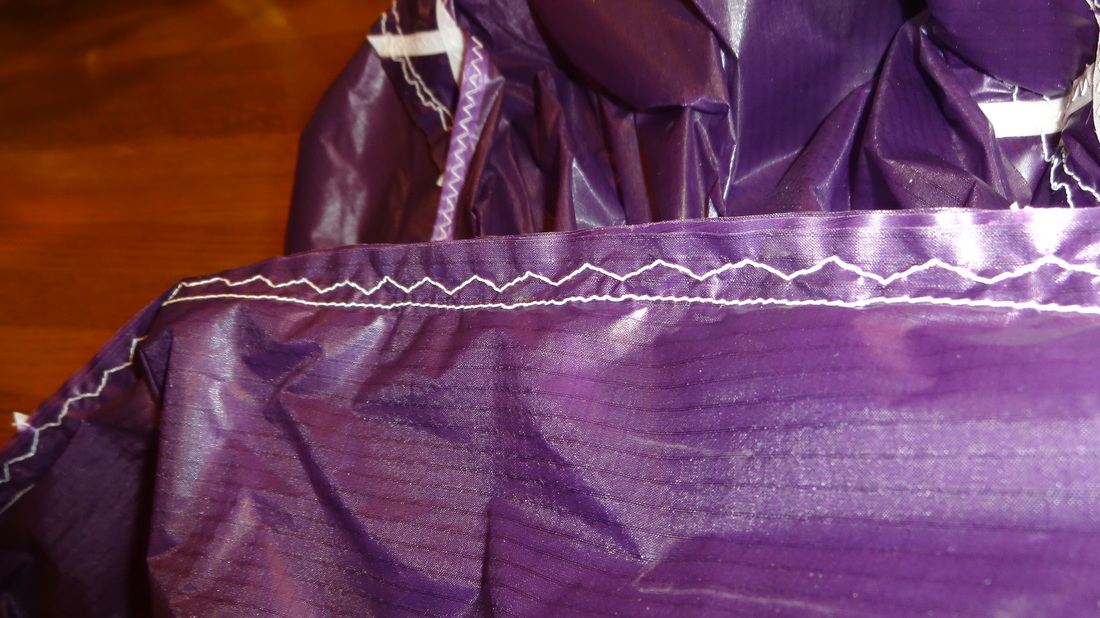
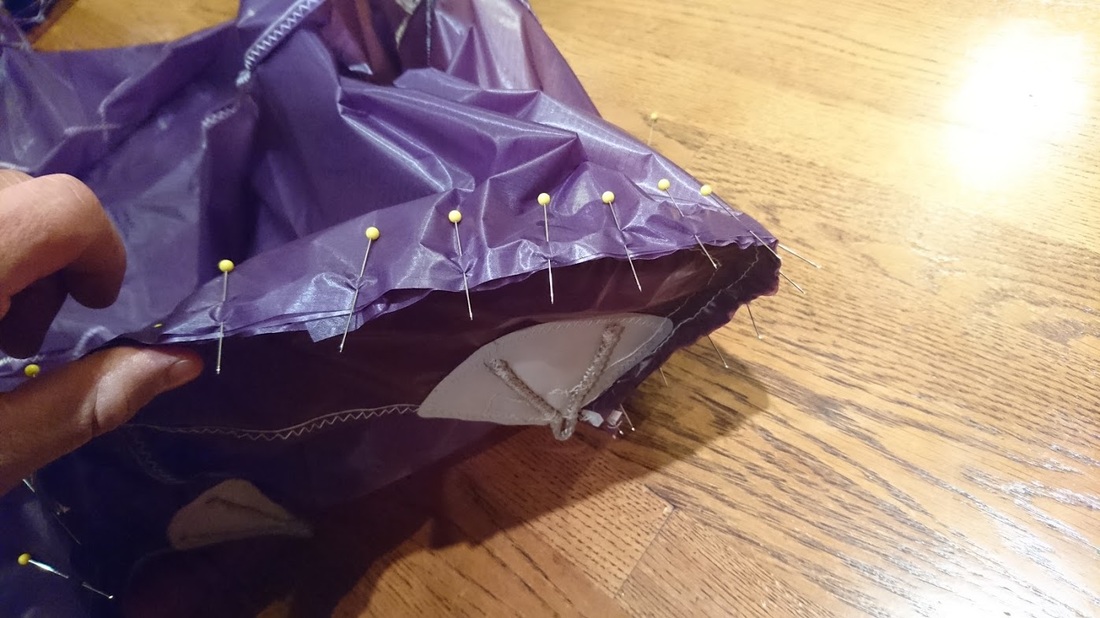
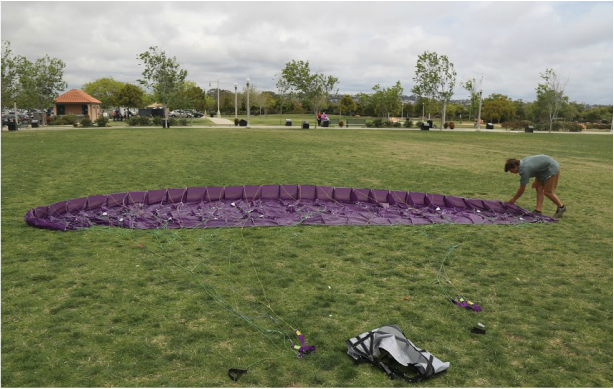 First time laying out the finished glider. 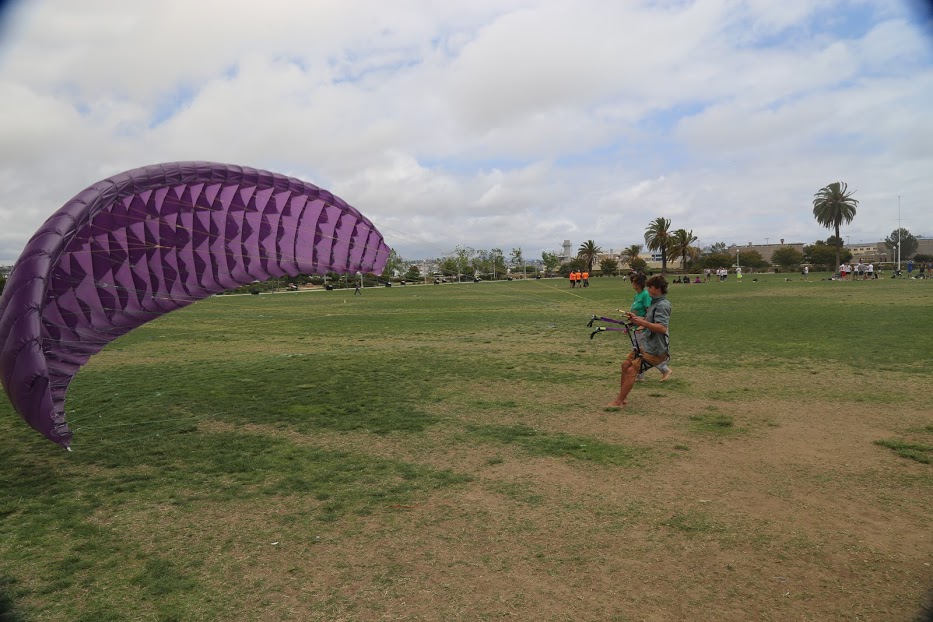 First inflation 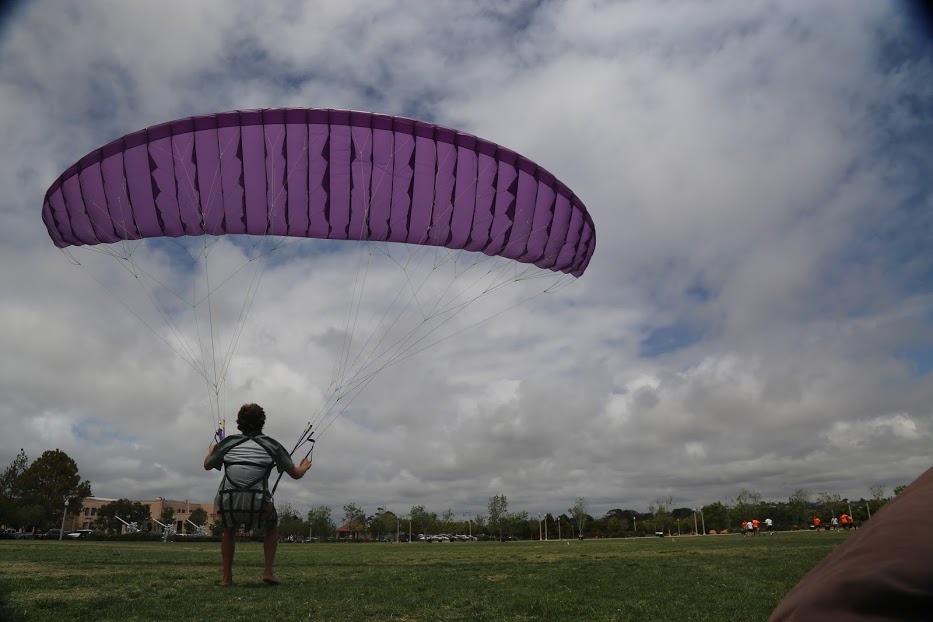 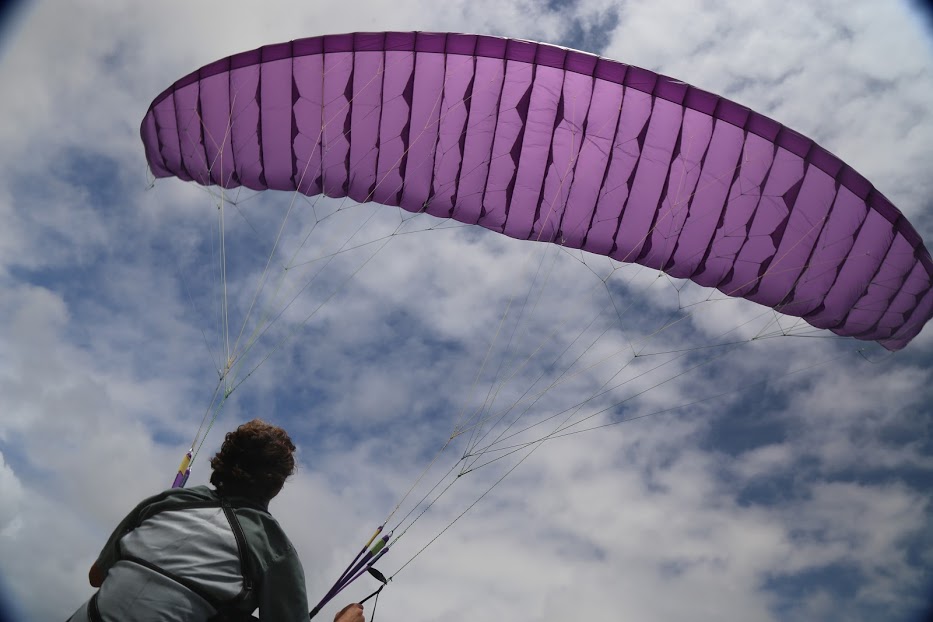 The length of the brake lines on single skin paragliders needs to be very precise. If you look at the trailing edge of the wing you can tell that the brake lines are too tight. This causes too much drag and made me move backwards. After making careful adjustments to the brake lines I brought it back out to the field. This time, with the brakes properly adjusted, lifting and controlling the kite was much easier. Risers connect the lines to the harness and provide a place for the brake handles to be attached. This model has three risers attaching to each of the three mainlines coming down. The risers also provide a comfortable place to hold onto while lifting the glider off the ground.
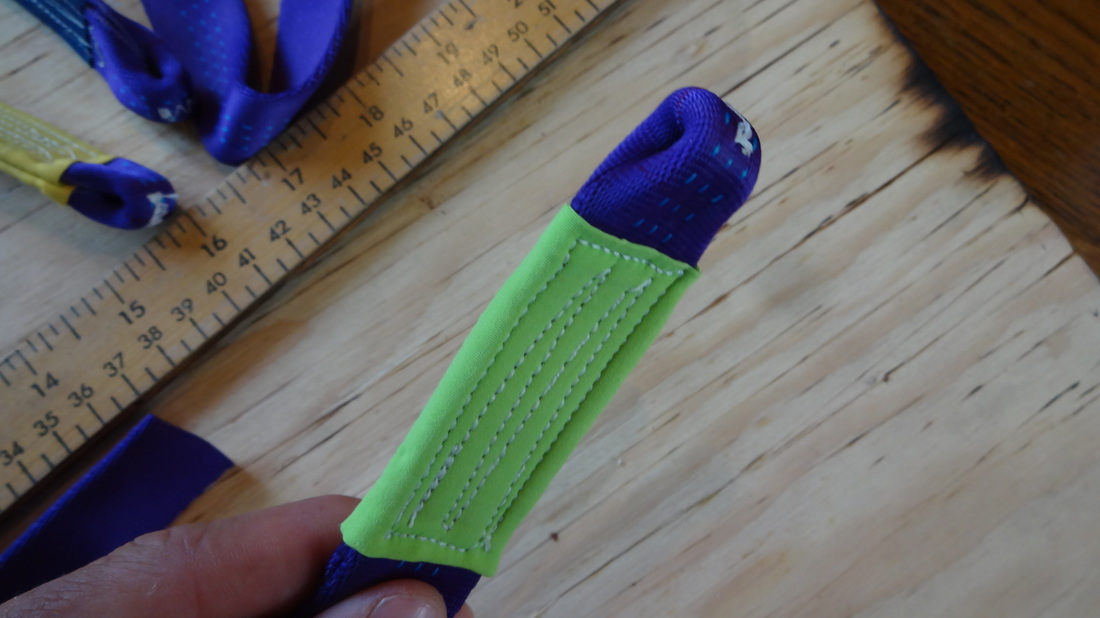
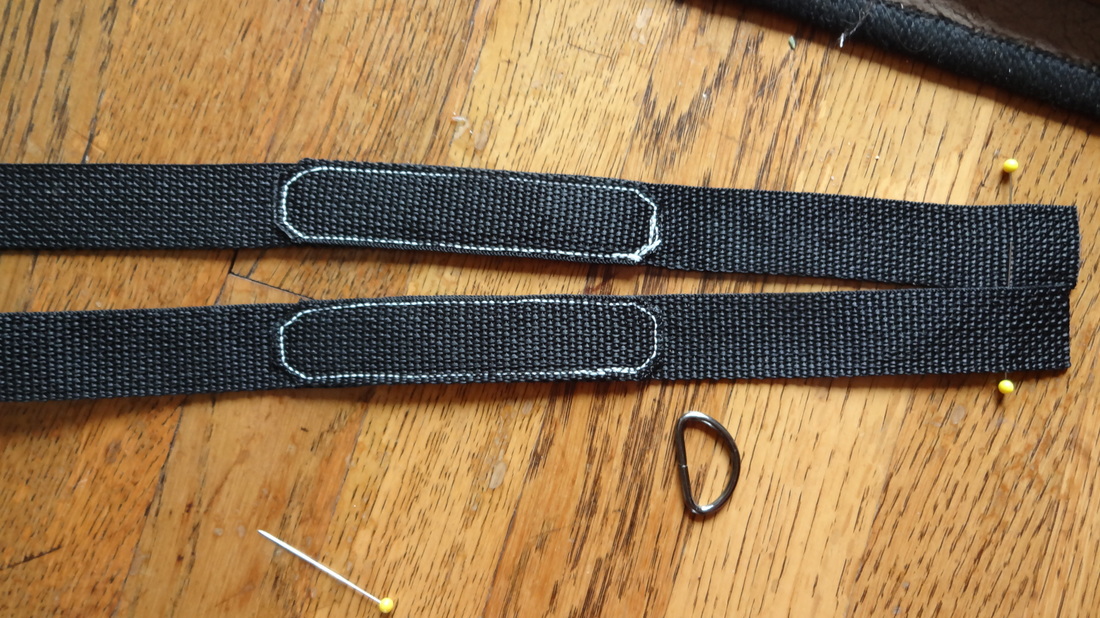
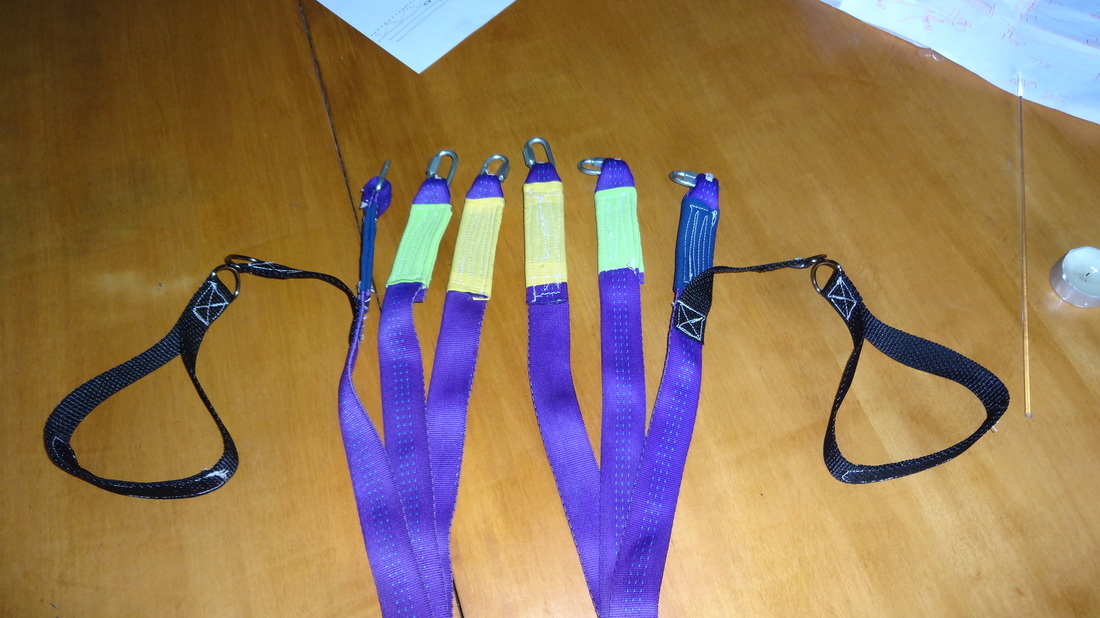 Finished risers and brake handles
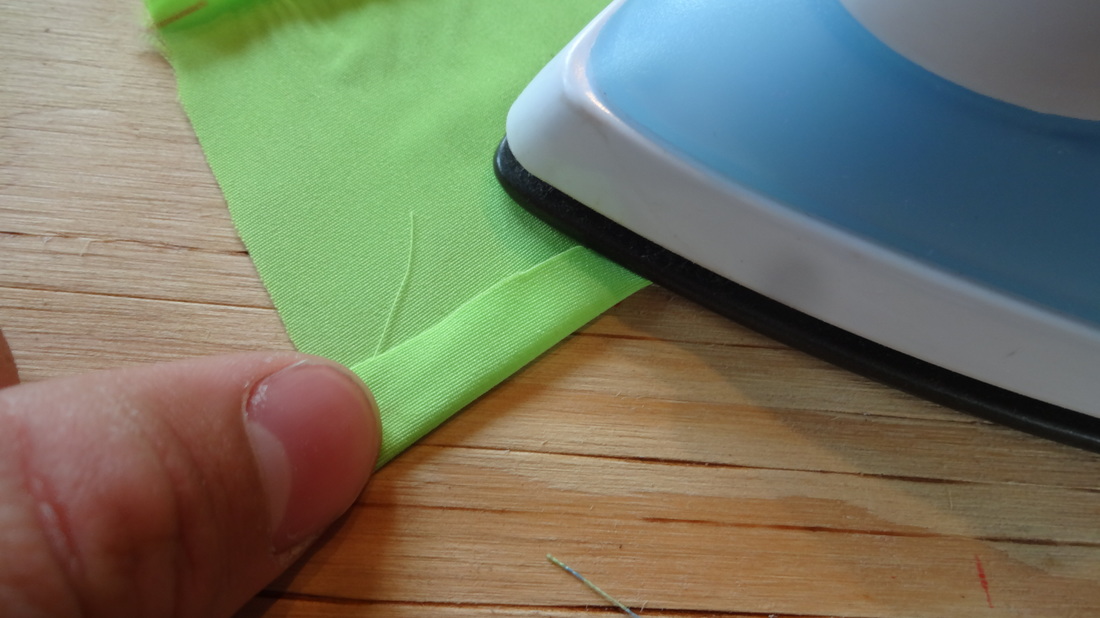
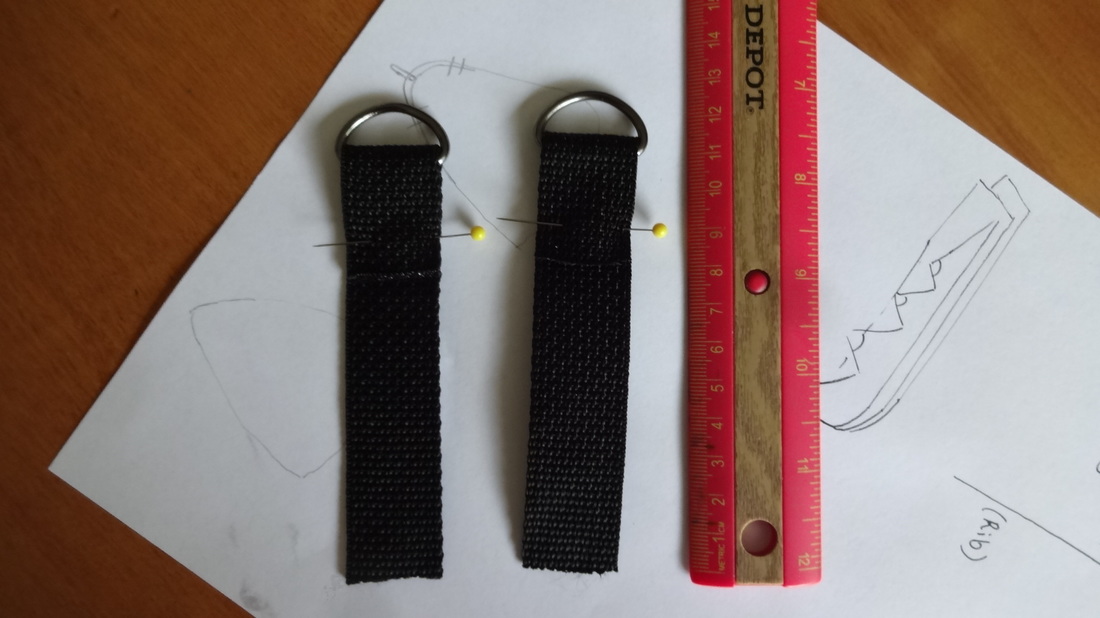
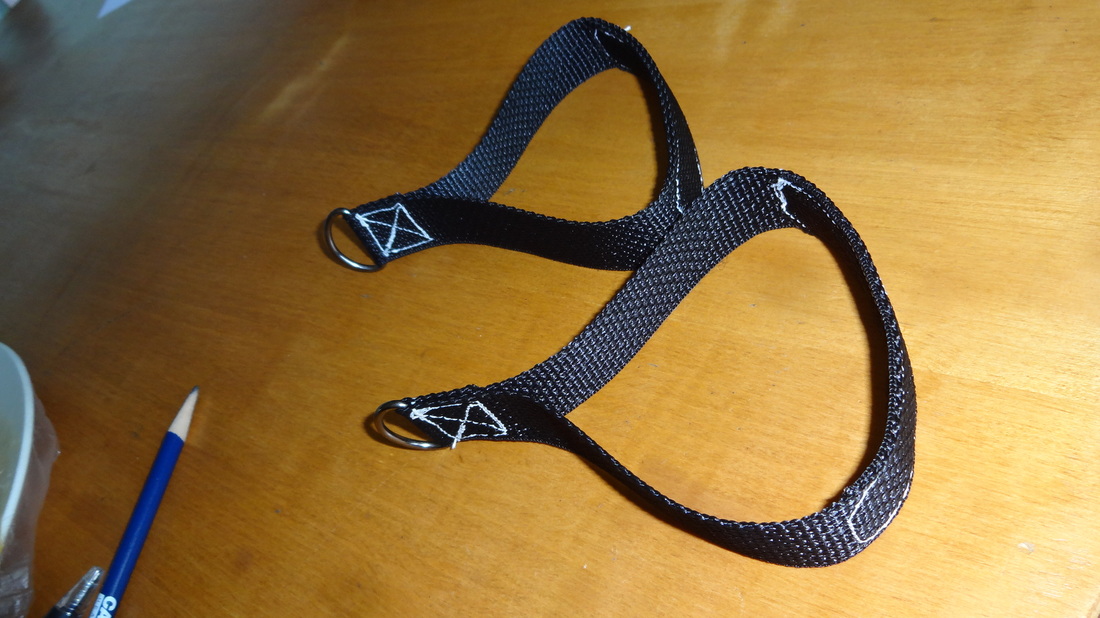
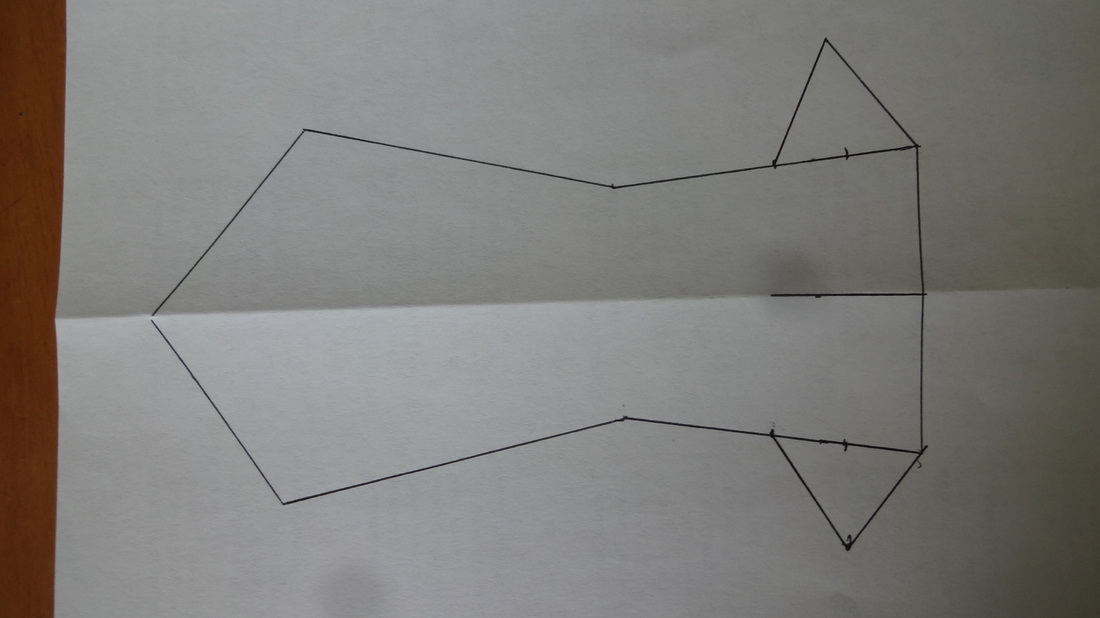
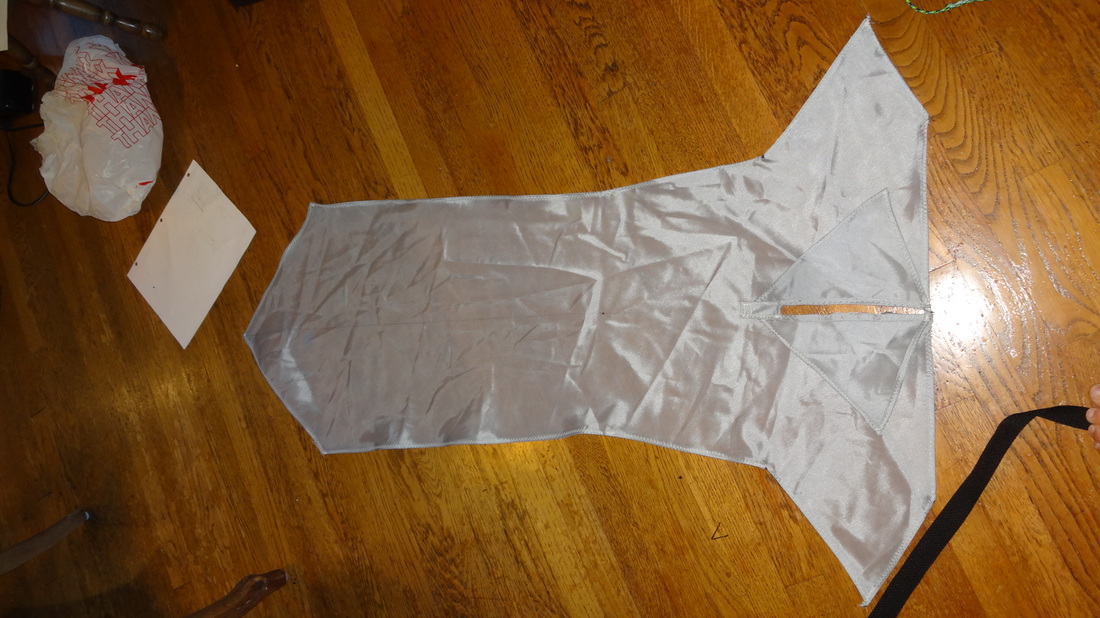
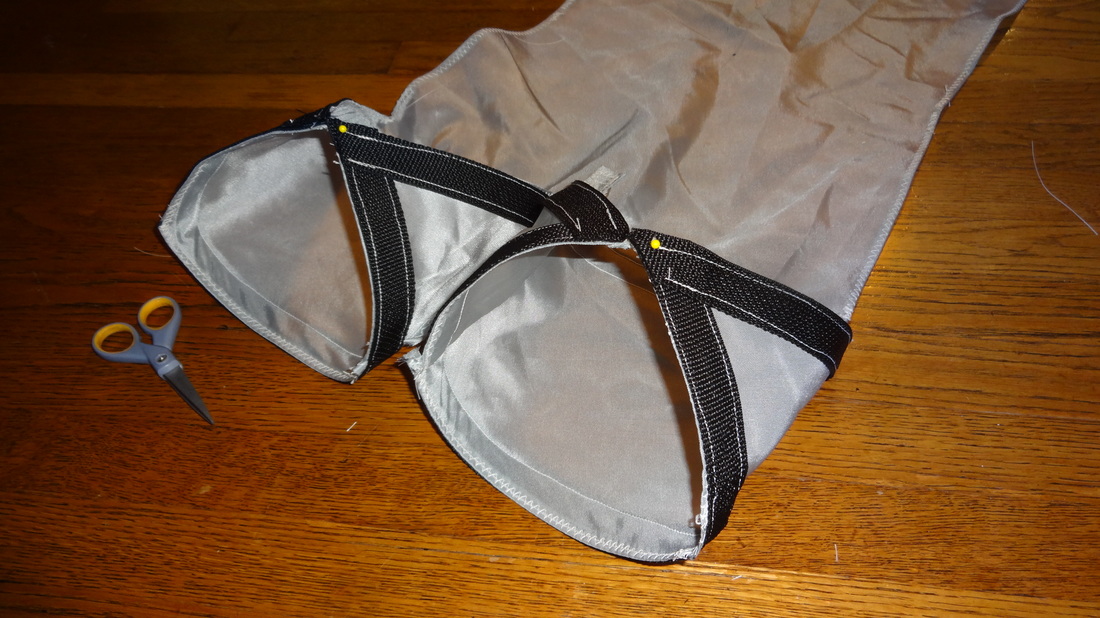
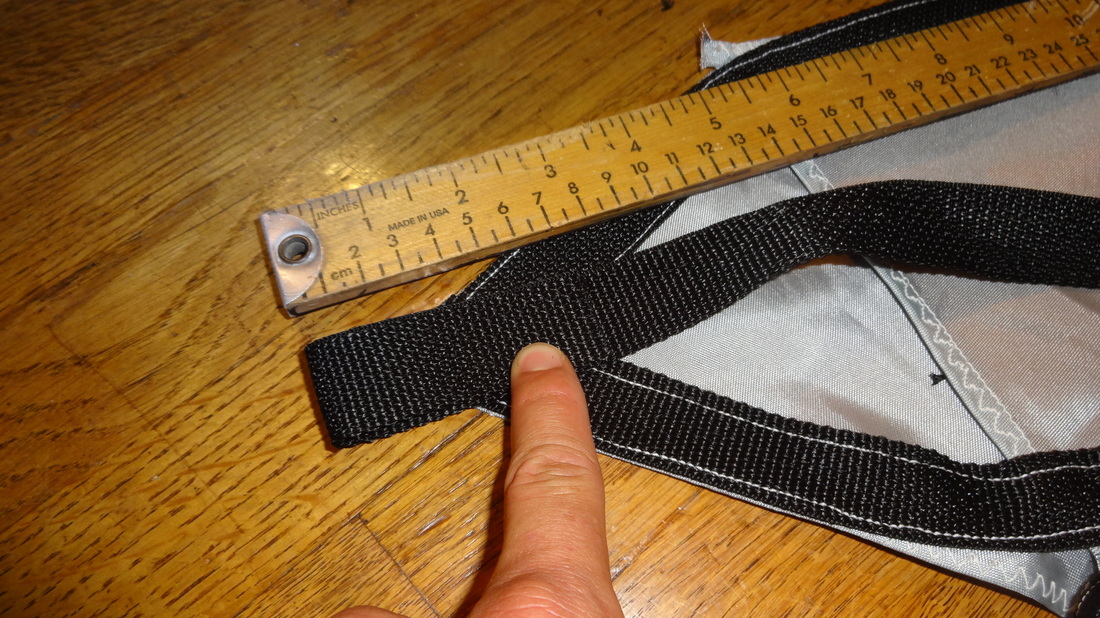
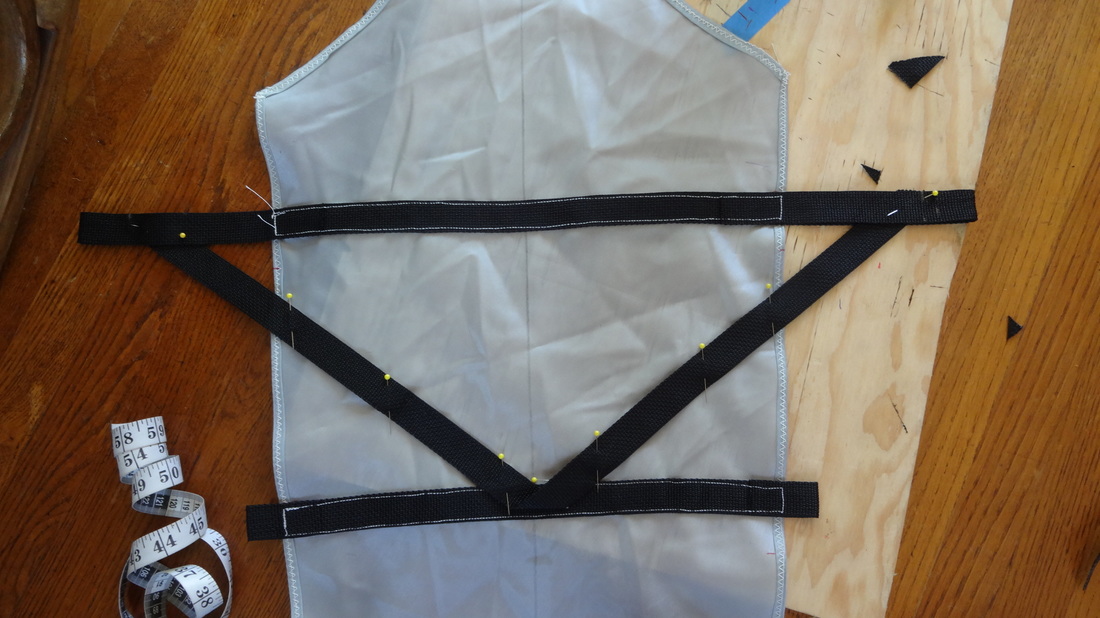
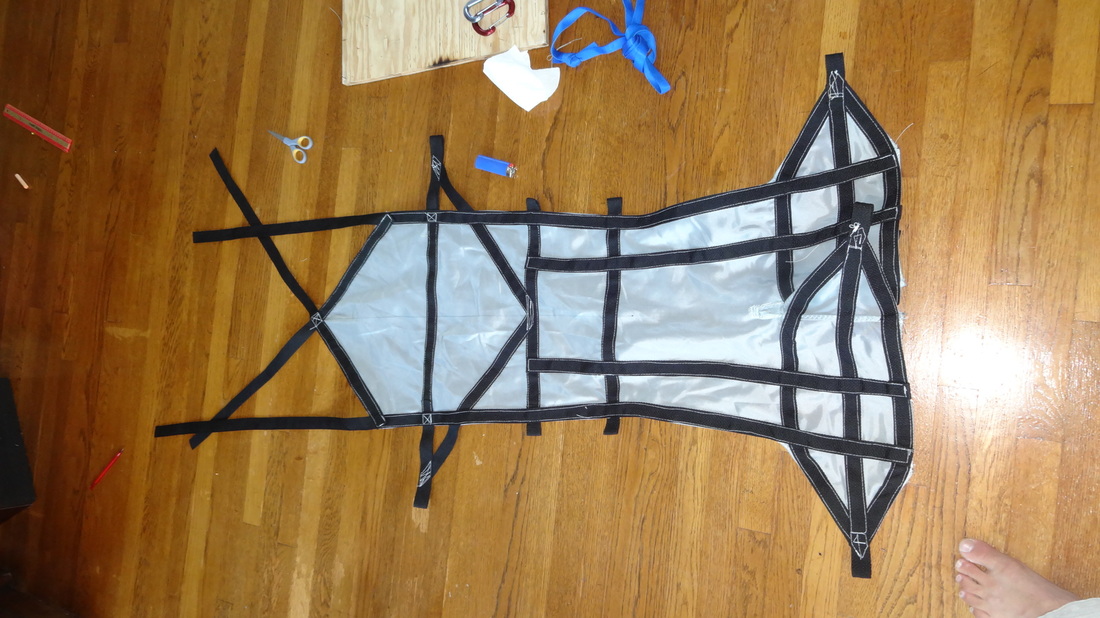
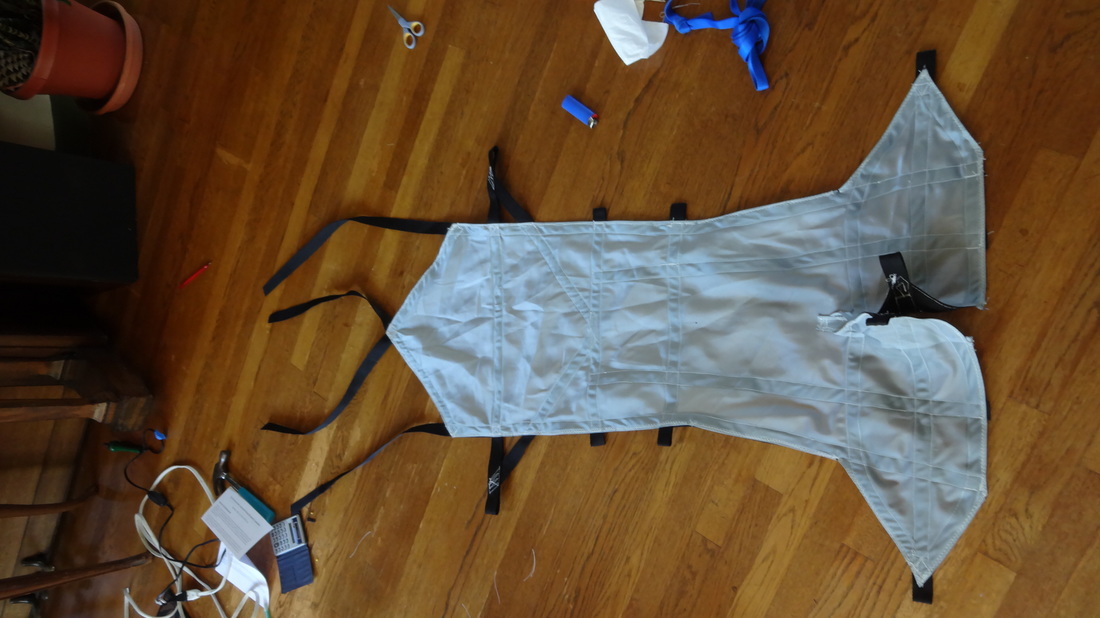
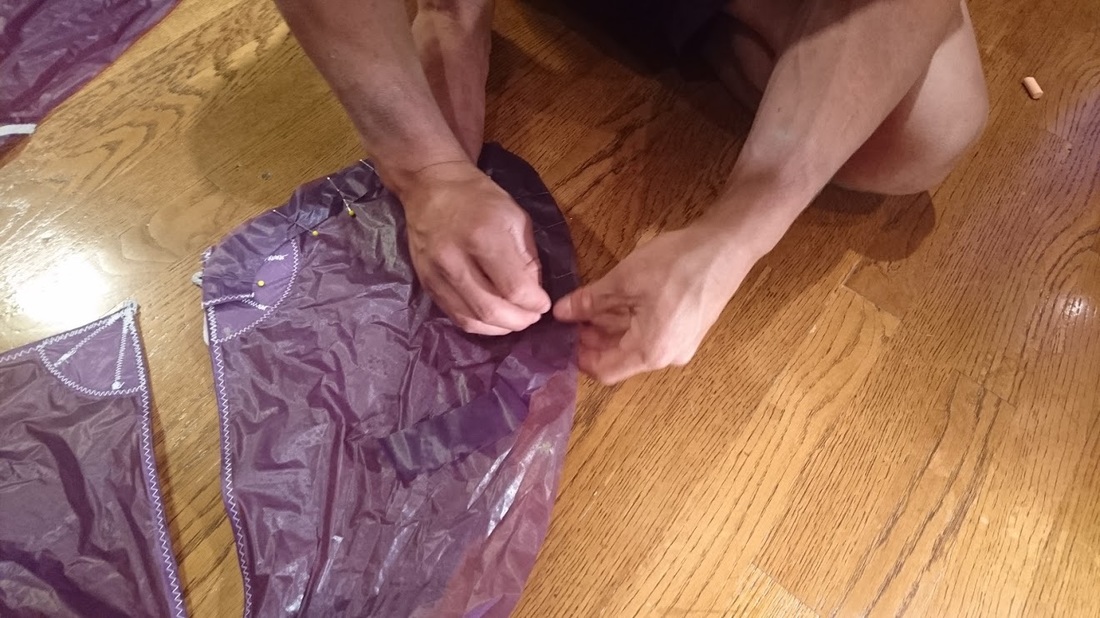
Unlike the majority of the para-glider plans, there were no online patterns for a harness. Originally, i was going to buy one or scavenge one off of something else. Unfortunately, they are incredibly expensive and a different type of harness was not practical. Instead I decided to start from nothing and create my own harness.
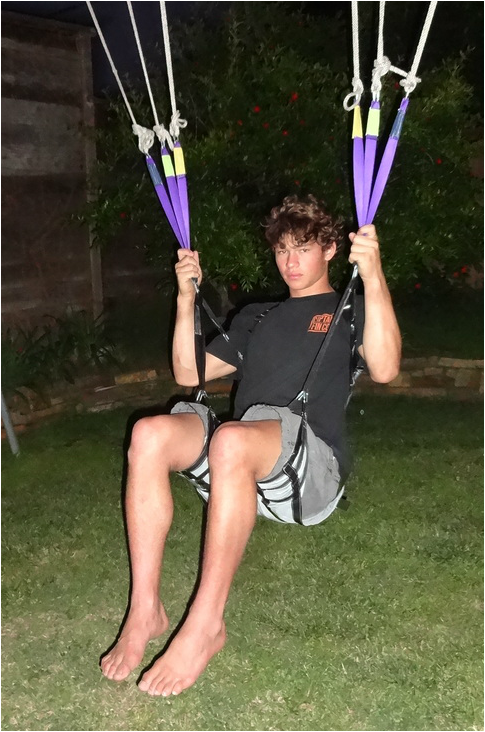 Success.
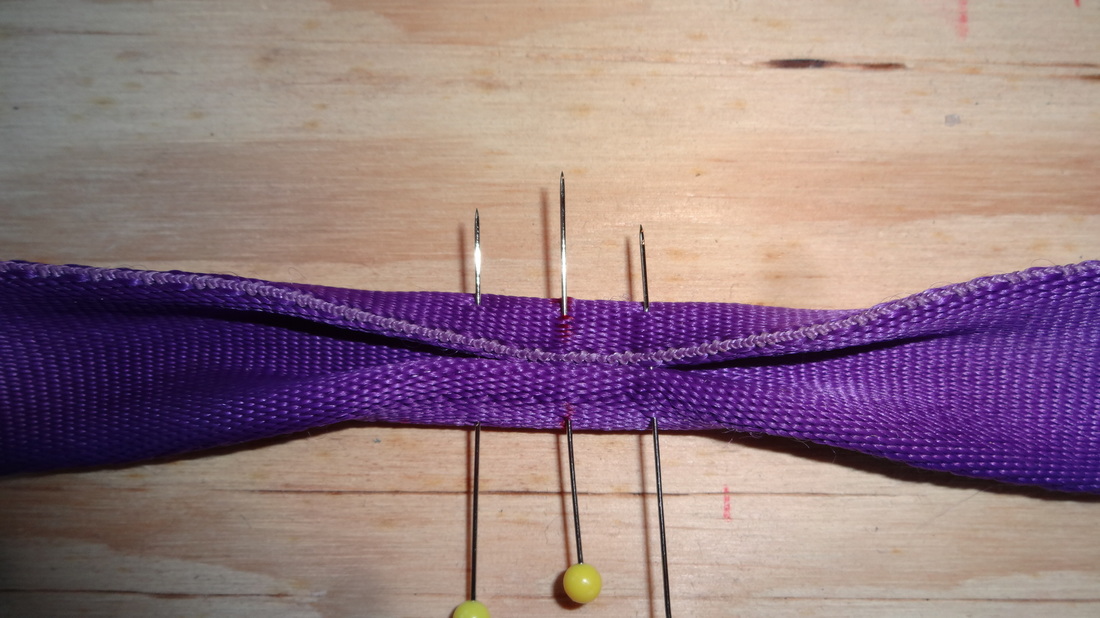
Para-gliders turn, slow down, and land (stall the wing) by using brake lines. When pulled, the brake lines create a controlled collapse of the trailing edge of the wing. For example, when the right brake line is pulled, there is a partial collapse of the ride side of the wing, which creates less lift and results in a right turn.
|
Deryk GoerkePursuit of a meaningful life Archives
May 2016
Categories |

 RSS Feed
